Have you ever been in the middle of editing a music video, tutorial, or social media post and noticed that the audio just doesn’t quite go with the visuals? Maybe the beat drops, but the visuals lag a split second behind. Or you play it back, and by the end of the video, there’s an annoying audio drift, where the sound and visuals feel like they’re from two different timelines. Frustrating, right?
If any of this sounds familiar, you’re not alone! Audio-video syncing issues are some of the most common (and annoying) problems in video editing. Whether you’re a musician aiming for flawless timing in a music video or a content creator needing clear alignment in voiceovers, syncing is crucial for engaging, professional-quality content. Poorly synced audio and visuals can disrupt a viewer’s focus and make your project feel less professional.
So, why does syncing matter so much? In music visuals especially, timing is everything. Precise sync keeps the beat and rhythm intact, ensuring that visuals amplify the audio’s emotional impact instead of breaking the flow. Yet, achieving this perfect sync isn’t always straightforward. Audio lag, drift, and frame rate mismatches are common challenges in the editing world. So how to sync audio and video for music visuals is the main problem.
The importance of audio-video syncing extends beyond music visuals, covering areas like film, social media content, and live-streaming events. However, each platform and project has unique requirements, and syncing methods may vary. Video editing software, AI-powered tools, and manual techniques all offer ways to synchronize audio and video to varying degrees of accuracy and efficiency. This article explores both traditional and advanced methods of syncing, along with practical tips to improve your final product.
Methods for Syncing Audio & Video
Achieving a professional sync requires an understanding of both manual and software-based techniques. Here, we break down these methods to help you choose the best one for your needs.
Manual Syncing
1. Clapboard Method
The clapboard method, used in film production, is one of the most effective and traditional ways to manually sync audio and video. A clapboard produces a visual cue (the board closing) and an audio cue (the clap sound) that editors can easily align in post-production. It is a good method that can be useful when you are thinking of how to sync audio and video for music visuals.
How It Works: Start each take with a clap. This will create a point of synchronization across all your video and audio sources. Once imported into your editing software, locate the frame where the clapboard closes, then align it with the corresponding audio “clap.” This simple action makes it easy to sync files accurately.
Real-World Use: Music videos and live performances benefit from the clapboard method, particularly when there are multiple takes or camera angles. For example, if you’re recording multiple instruments in a music video, each take can start with a clap to mark the beginning.
Advantages: Straightforward, requires minimal equipment, and provides an immediate visual/audio sync point.
Challenges: Manually aligning each clip can be time-consuming, especially for longer projects or those with multiple takes.
2. Waveform Matching
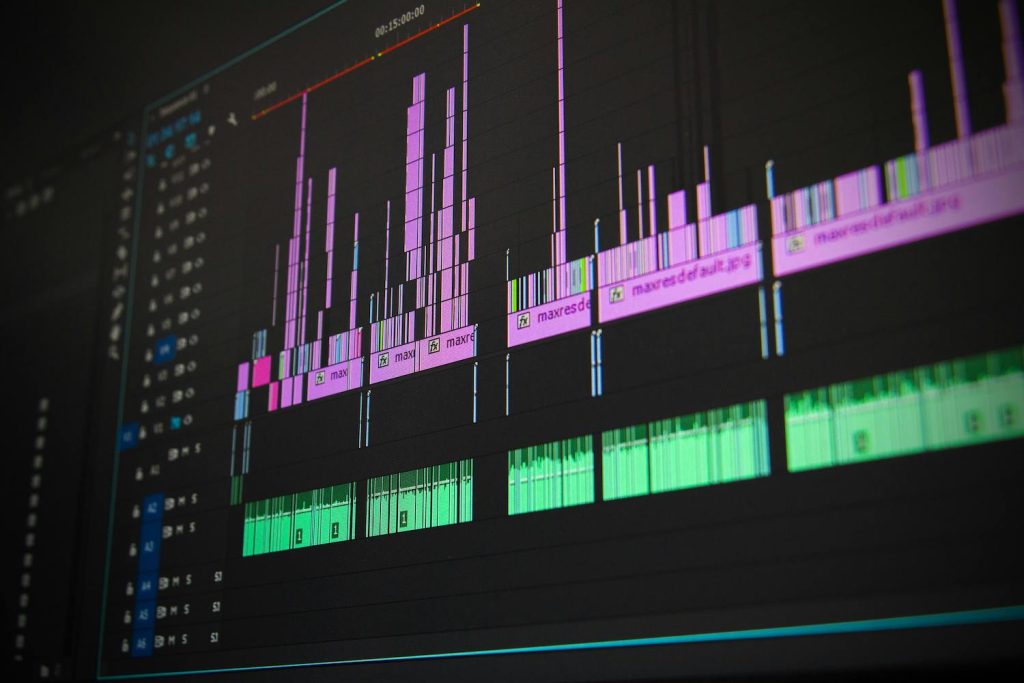
Waveform matching is another manual technique, particularly useful when a visual sync point is absent. In most editing software, the audio track is represented as a waveform, allowing editors to align peaks and troughs from separate audio sources.
- How It Works: In your editing software, look for identifiable waveform peaks in both the audio and video tracks. These peaks often represent louder sounds, like claps, drum beats, or other sharp sounds. By aligning these peaks, you can sync the tracks with high accuracy.
- Real-World Use: Ideal for projects with distinct sound patterns, like music videos or concert footage, where beats or instrument cues are visible on the waveform.
- Advantages: Highly accurate and doesn’t require additional syncing equipment to sync audio and video for music visuals.
- Challenges: This method can be challenging if your audio has a lot of background noise or lacks prominent peaks. Noise-reduction techniques can help, but they add time to the editing process.
Software Syncing
Syncing with software is often faster and more efficient than manual methods. Popular editing programs like Adobe Premiere Pro and Final Cut Pro X provide automatic sync features that save time and reduce the need for frame-by-frame adjustments.
1. Adobe Premiere Pro: Sync with “Merge Clips” Adobe Premiere Pro’s “Merge Clips” feature is a powerful tool for syncing audio and video. By using waveform matching, this feature can automatically align clips based on similar audio patterns, merging them into one synced file.
- How It Works: After importing your media, select the audio and video clips you want to sync, then right-click and choose “Merge Clips.” Adobe analyzes the audio in both files and syncs them automatically.
- Real-World Use: Commonly used for interview setups, live performances, or projects where multiple camera angles and audio sources need to be synced quickly.
- Advantages: Quick, reliable, and works well with various audio and video file formats.
- Challenges: Requires clear audio for precise matching; background noise or overlapping sounds can interfere with Adobe’s ability to detect the correct sync points.
2. Final Cut Pro X: Automatic Audio Sync Final Cut Pro X provides automatic audio sync for Apple users, ideal for projects that require high-efficiency editing. This feature is simple to use, with a “Synchronize Clips” option that matches audio with video automatically.
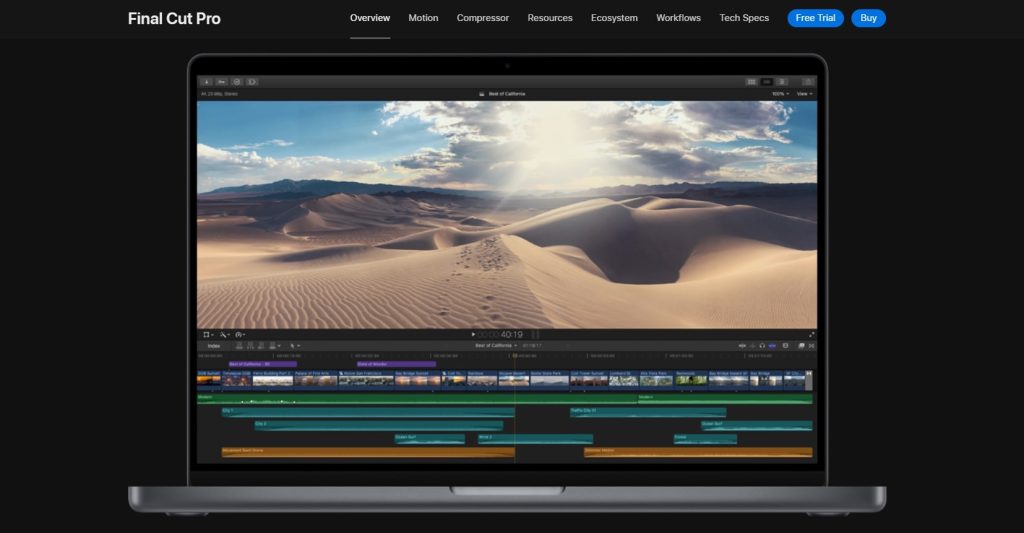
- How It Works: Import your files, select them, and choose “Synchronize Clips.” Final Cut analyzes the audio in both files and aligns them automatically, generating a synced clip.
- Real-World Use: Final Cut’s feature is especially popular for wedding videos, music videos, and social media content where quick turnaround times are needed.
- Advantages: Fast and convenient, requires little manual input, and can handle most audio conditions to sync audio and video for music visuals.
- Challenges: Background noise and unclear audio can interfere with syncing accuracy, so it’s best to record in controlled environments.
3. VLC Media Player: Adjusting Sync in Playback While VLC Media Player isn’t intended for professional editing, it allows for quick audio sync adjustments during playback. This is useful when previewing footage or troubleshooting minor sync issues.
- How It Works: Press J or K on your keyboard to delay or advance the audio track during playback. This feature can be helpful for minor sync adjustments before moving to an editing program.
- Real-World Use: Often used for casual playback or when testing how audio sync might look after a rough cut.
- Advantages: Quick and easy for minor adjustments; doesn’t require professional software.
- Challenges: Limited to playback and doesn’t affect the original file, so you’ll need to correct the sync in your editing software for a final export.
Syncing with doodooc AI music visualizer
doodooc is an innovative tool that uses artificial intelligence for audio analysis. In short, it is the best answer to how to sync audio and video for music visuals with precision. It’s designed especially for music-driven projects, making it a go-to choice for creators in the music and entertainment industry.
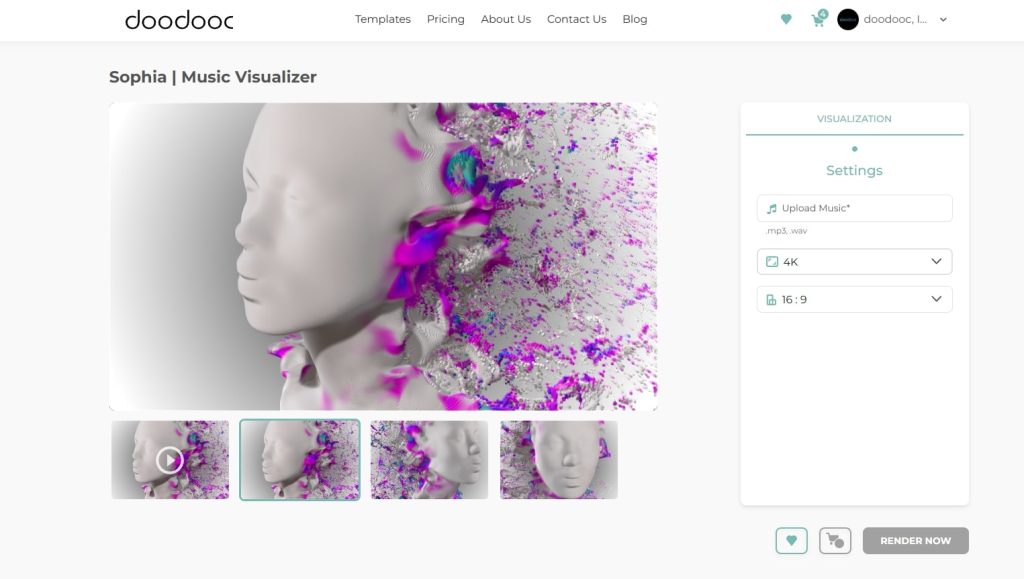
- AI-Powered Sync: doodooc analyzes 11 layers of audio, aligning visuals to audio cues automatically. It considers rhythm, tempo, and timing, providing results that would typically require manual adjustments.
- Optimized for Music Projects: Built with music in mind, doodooc’s algorithm works in a way to handle complex audio files, like multi-layered tracks. This makes it perfect for syncing visuals to beats, vocals, and even tempo shifts.
- Customization Options: doodooc offers over 400 templates, color customization options, and up to 8K resolution, allowing you to produce high-quality visuals that stand out.
Real-World Applications: doodooc is especially popular for social media content, live performances, and music visuals where quick syncing and polished visuals are required. For instance, a music producer can upload their track and have doodooc create an audio-reactive visualizer, providing a professional result in minutes.
Advantages: Saves time on manual adjustments, works well with complex audio layers, and has unique and artistic visualizer templates.
Challenges: doodooc’s available packages on the website have limited customization options if you want to add your own images to videos.
Tackling Audio Drift in Syncing
Audio drift is one of the most frustrating challenges in syncing, especially for longer projects. Drift occurs when the audio gradually falls out of sync with the video, typically due to differences in frame rate, sample rate, or recording device stability. Here’s how to identify, prevent, and correct drift issues in your projects.
What Causes Audio Drift?
- Frame Rate and Sample Rate Mismatches: Video and audio need to be recorded at compatible frame and sample rates to stay in sync. For instance, video recorded at 30 frames per second (fps) and audio at 48 kHz are standard. Any mismatch between these rates can lead to slow drift.
- Variable Frame Rate (VFR) Video: Some devices, especially smartphones, record at variable frame rates to adjust based on lighting or motion. VFR makes syncing difficult because the frame rate isn’t constant.
- Extended Recordings: Long, continuous takes are more prone to drift, particularly with entry-level recording equipment.
Preventing Audio Drift
Consistent Frame and Sample Rates
Before recording, set your camera and audio equipment to standard frame and sample rates—typically 30 fps for video and 48 kHz for audio.
Lock the Frame Rate
Use fixed (constant) frame rate settings on your camera. Some editing software, like Adobe Premiere, can interpret VFR footage and convert it to a constant frame rate, which helps minimize drift.
High-Quality Gear
Invest in reliable recording equipment. Professional-grade cameras and audio recorders are more consistent with frame and sample rates, reducing drift issues.
Fixing Audio Drift in Post-Production
- Time-Stretching in Audio Software: If your audio drifts slightly over time, audio editing software like Audacity or Adobe Audition can stretch or compress audio to match the video length. Check the waveform alignment periodically, especially at the start, middle, and end, to ensure the correction holds.
- Cutting and Realigning Audio Clips: In longer videos, break the audio into sections and realign each segment as needed. This method is helpful for fixing minor drifts without affecting audio quality.
- Resample the Audio: Some editing software allows you to adjust the sample rate to bring the audio back into alignment. A slight adjustment from 44.1 kHz to 48 kHz, for instance, can resolve certain types of drift.
By taking preventive steps and using these correction techniques, you can avoid the time-consuming frustration of dealing with drift. With these strategies, your audio will stay precisely in sync from start to finish, even in longer projects.
More Tips for Better Sync Quality
To achieve a high-quality sync, the quality of your initial recordings is crucial. Here are tips that can make the process smoother and improve final sync accuracy:
- Record High-Quality Audio and Video
- Using quality recording equipment ensures clear audio and stable video, reducing the risk of lag or drift during editing. High-fidelity microphones capture clear sound, while high-frame-rate cameras produce smooth visuals, which ultimately make syncing easier.
- Example: For a music video, using a high-quality external microphone to capture the singer’s voice minimizes background noise and creates a strong audio profile for syncing.
- Use Markers or Visual Cues
- Markers provide a reference within the editing software, making it easier to align specific moments. Many editors use a hand clap or tap to create both visual and audio markers that aid in precise alignment.
- Example: For interviews or podcasts, a hand clap at the start can serve as a sync point, while visual markers help with multi-camera setups.
- Double-Check Waveform Alignment Before Exporting
- Even if your software has automatically synced the audio, double-check the waveforms to ensure accuracy. Small drifts can cause noticeable lag, especially in longer projects.
- Example: In a music video, aligning audio peaks (like drum beats) with visual cues can prevent subtle drift, maintaining a crisp sync throughout the video.
- Experiment with Playback Speed and Frame Rate Adjustments
- Sometimes, changing the frame rate or playback speed slightly can correct minor sync issues. For instance, adjusting video speed by just a fraction of a percent may align it better with the audio.
- Example: A video shot at 30 fps but edited at 29.97 fps may exhibit a gradual drift, so adjust frame rates carefully to avoid sync issues.
- Optimize for Different Playback Platforms
- Different platforms (e.g., YouTube, Instagram) may compress video differently, which can affect sync. Consider testing your final video on the intended platform to ensure sync holds up.
- Example: Export a sample of your video and test it on YouTube to confirm that syncing remains accurate post-compression.
Achieving seamless audio and video synchronization is essential for professional-looking music visuals and other video projects. Whether using traditional clapboards, waveform matching, or advanced software like Adobe Premiere and doodooc, the method you choose depends on your project’s requirements and your level of experience.
With consistent practice and attention to detail, you can ensure that every beat and motion stays perfectly aligned. doodooc’s AI-powered tools offer a unique solution for music visuals, combining the convenience of automatic syncing with advanced customization options. Experiment with various methods to learn how to sync audio and video, keep practicing, and enjoy the creativity that synchronized audio-video projects bring to your storytelling.

